For the last year, I’ve expanded my voluntary work for the Model Railway Electronics group to pack 3D printed kits. I was given two more 3D printers to do the actual printing:
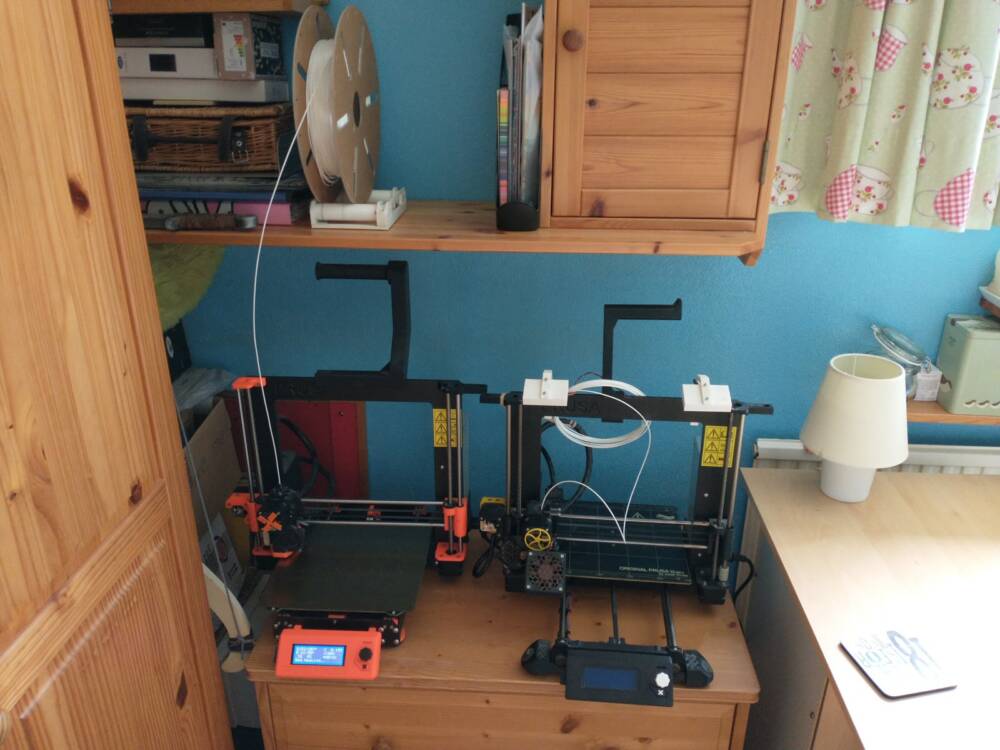
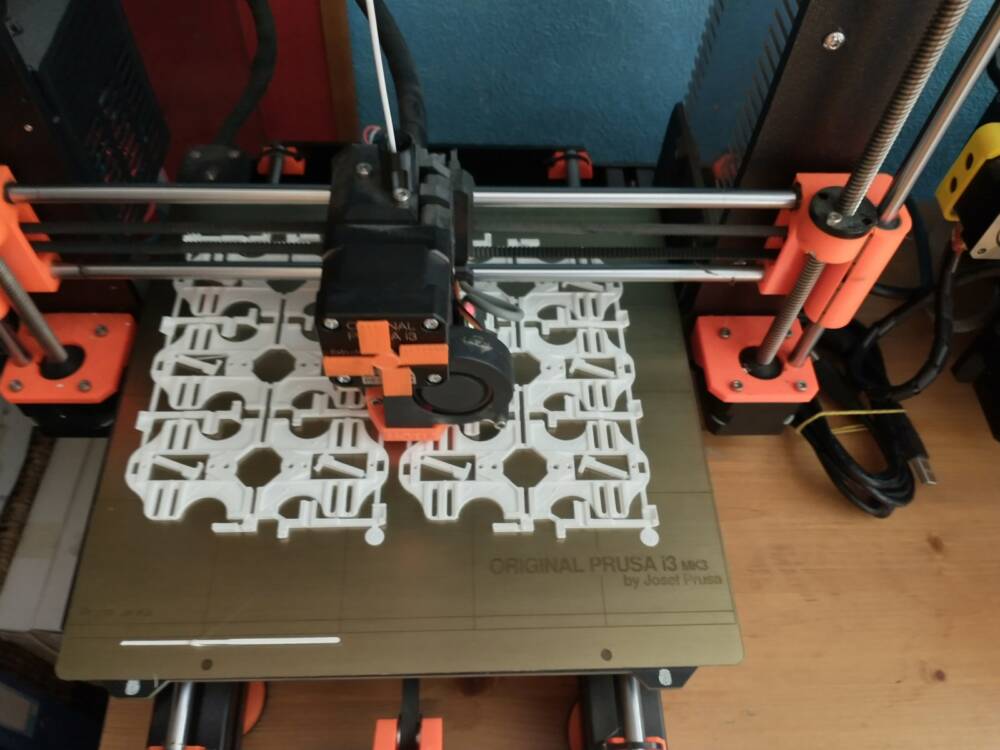
The one on the right was very old and had many problems, so I’ve passed that on for spares. The one on the left spends many hours printing parts for these kits:
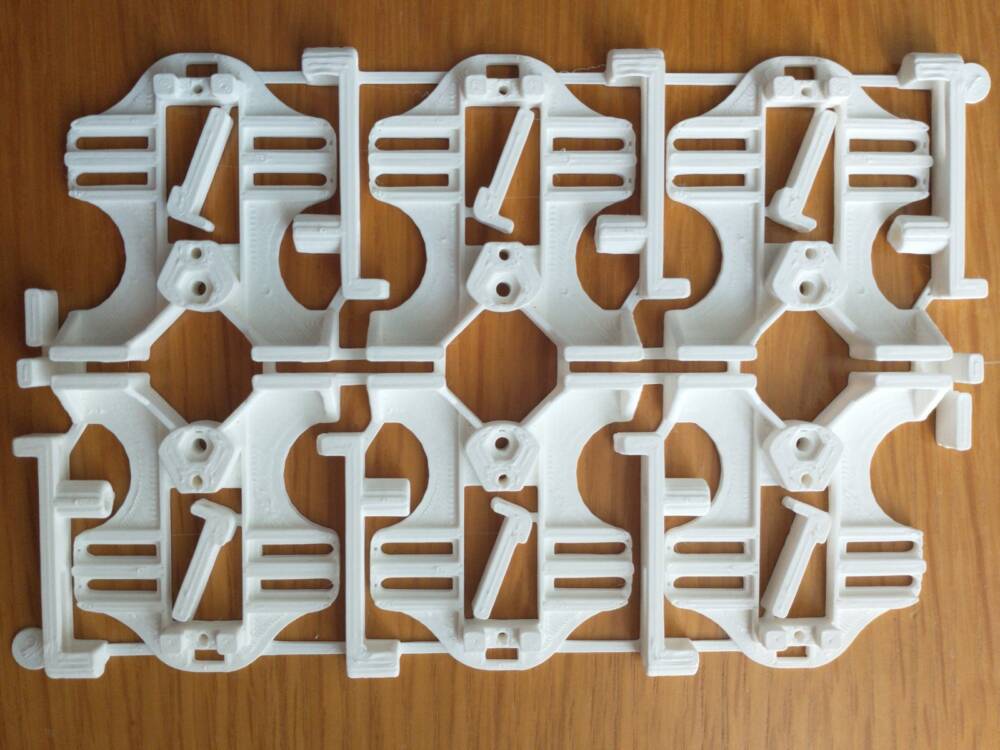
This is one of the finished prints:
The kit also contains lengths of piano wire. I buy this in 36″ lengths (914mm); each length needs to be cut into to six 150mm lengths. I made a jig to do measure the right length, and used an old pair of bolt cutters to do the cutting:
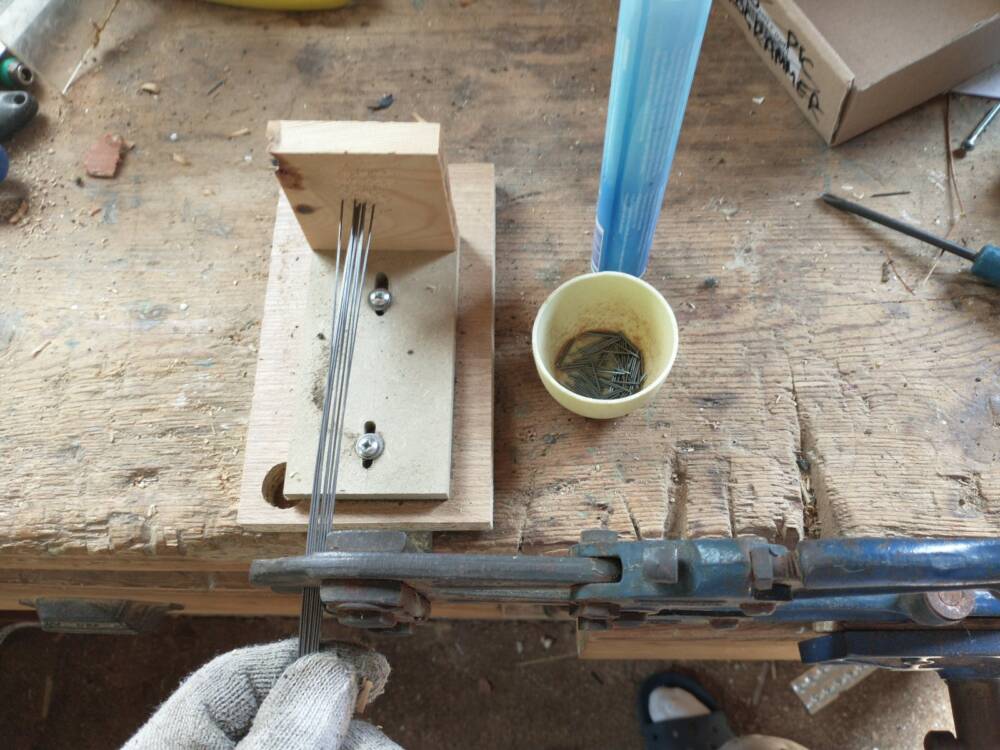
This will cut around 10 lengths at a time. You do need to hold the cut pieces otherwise they fly everywhere!
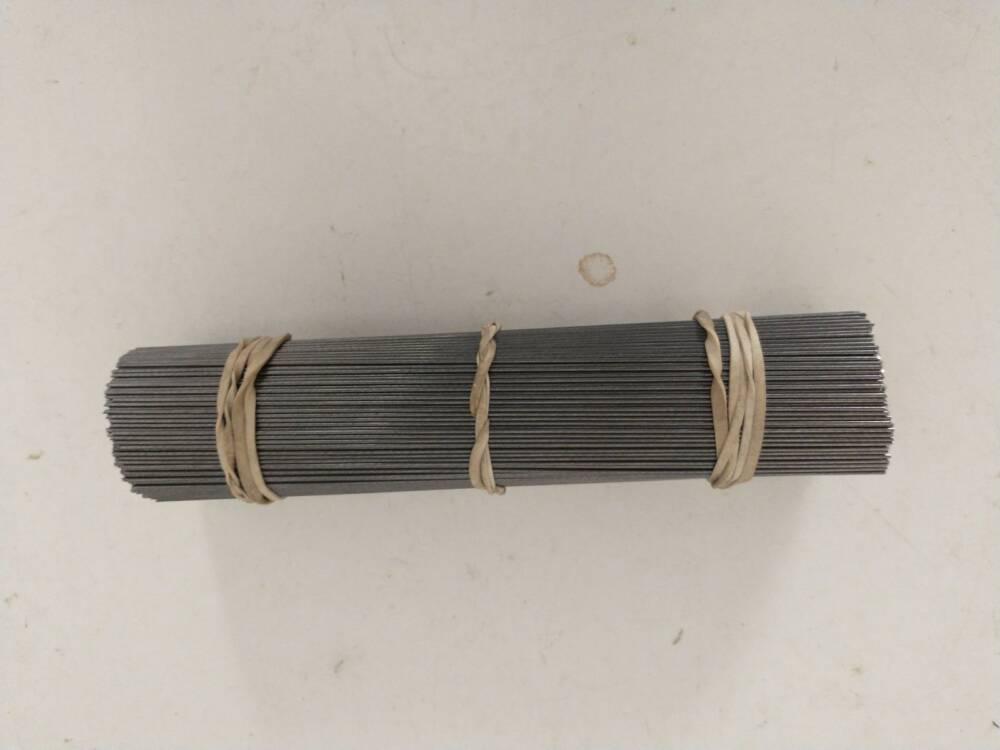
Gloves are essential as the wire is a bit greasy and the ends can be quite sharp. Half an hour later, I’ve a bundle of wire of the correct length:
The kit also contains various fixings, which need counting and putting into little bags:
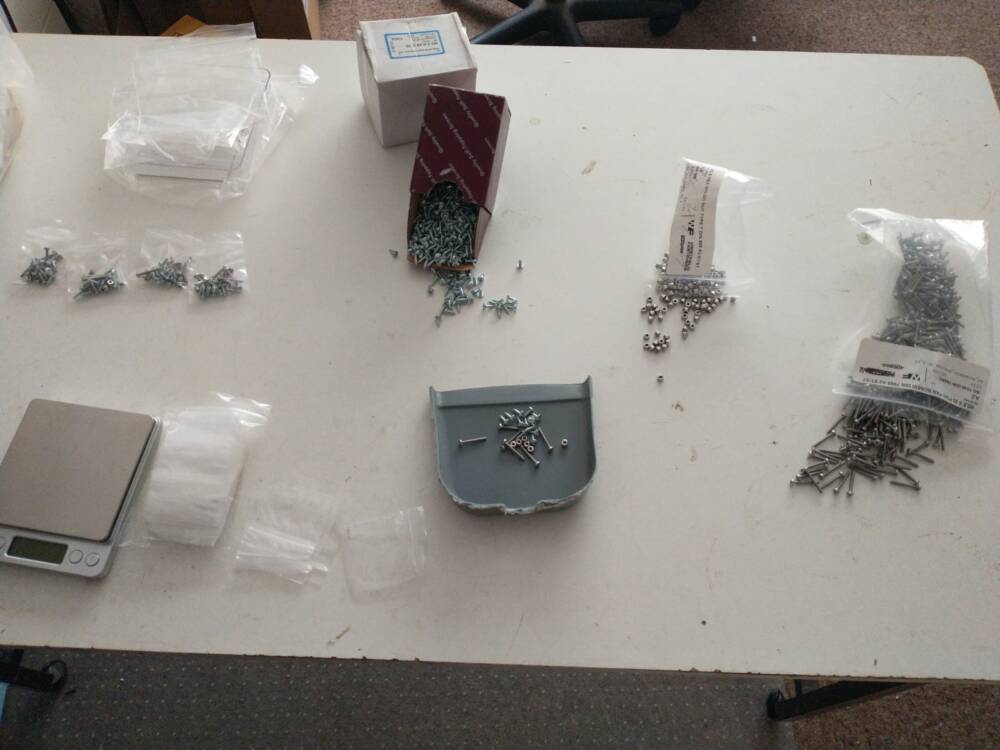
I count the various screws and nuts into the tray, put them in a small bag, then once I have 10 bags, weigh each on the “drug dealer” scales you can see on the left – this is a useful check that there is the right number of each in the bag.
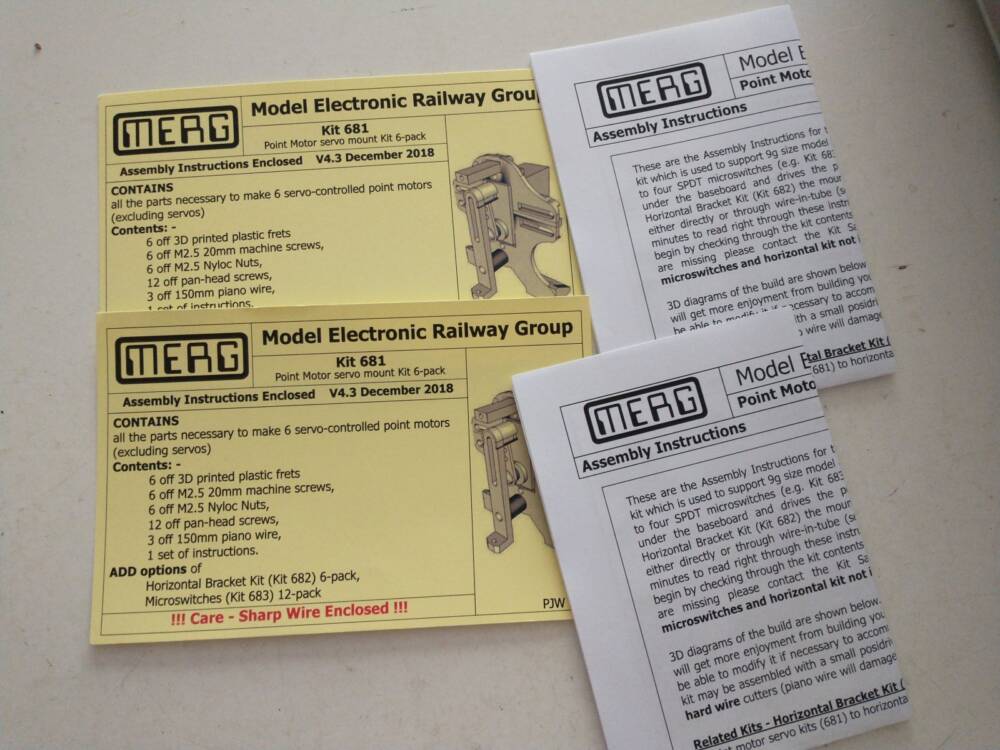
Finally, a front card and instructions need to be printed out:
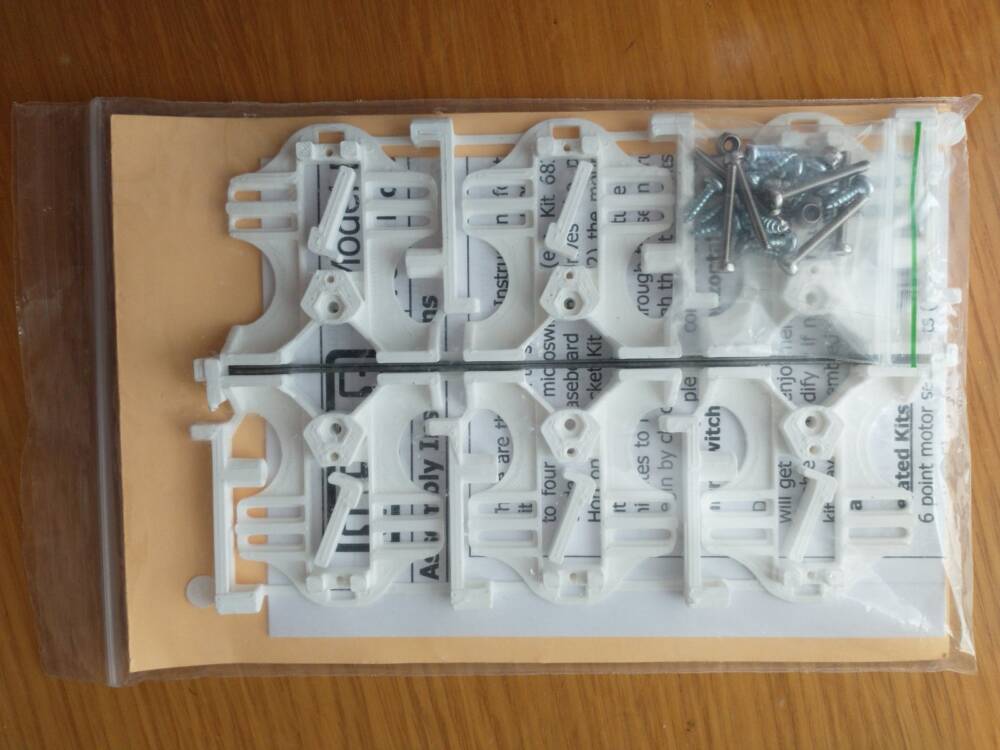
Then all the bits can be assembled into a kit. There are two little tabs at the end of each 3D print. These are broken off and pushed into the print to hold the servo wire and little bag of fixings to the 3D print: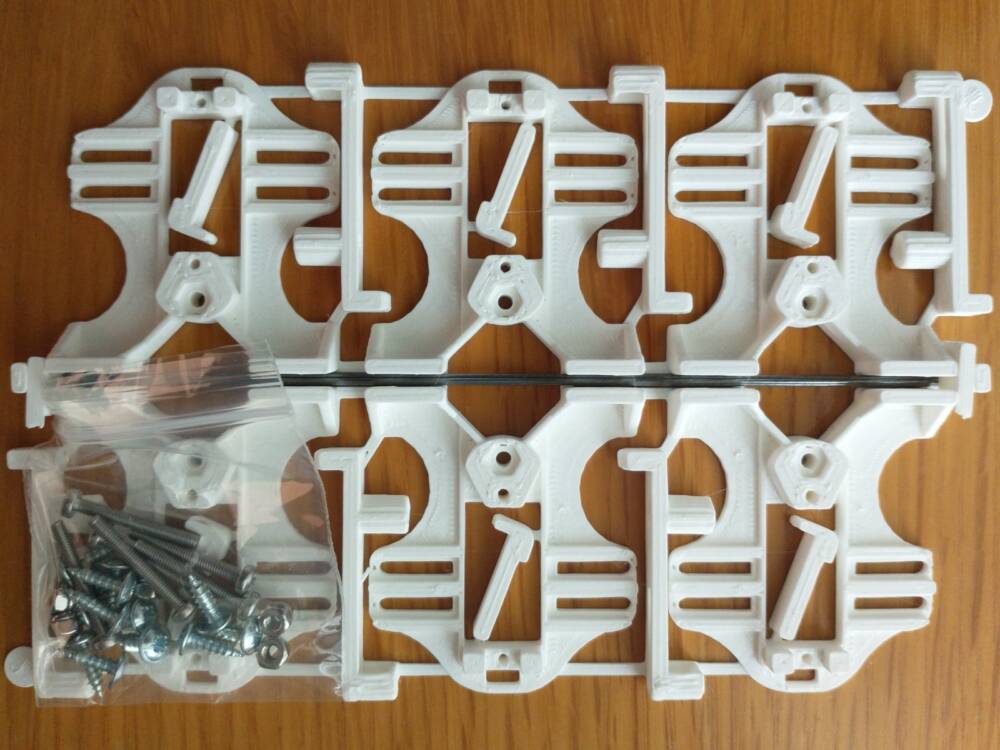
The front label and instructions are put in a bag, followed by the 3D print and fixings:
I pack around 400 of these kits a year, and 150 of a similar (but simpler) kit:
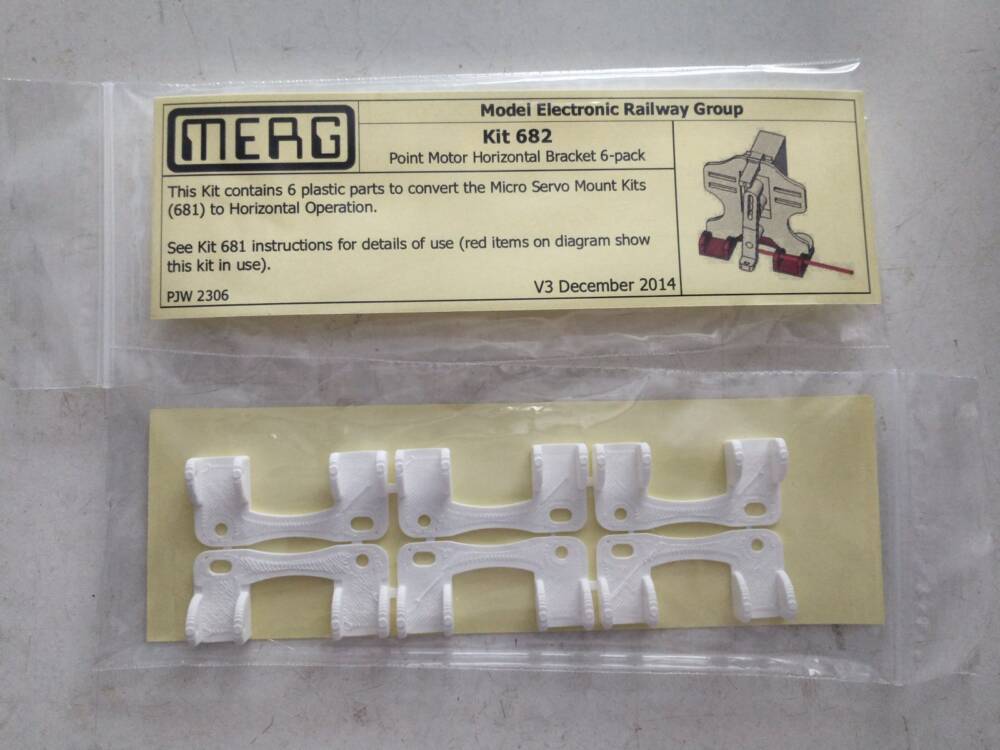
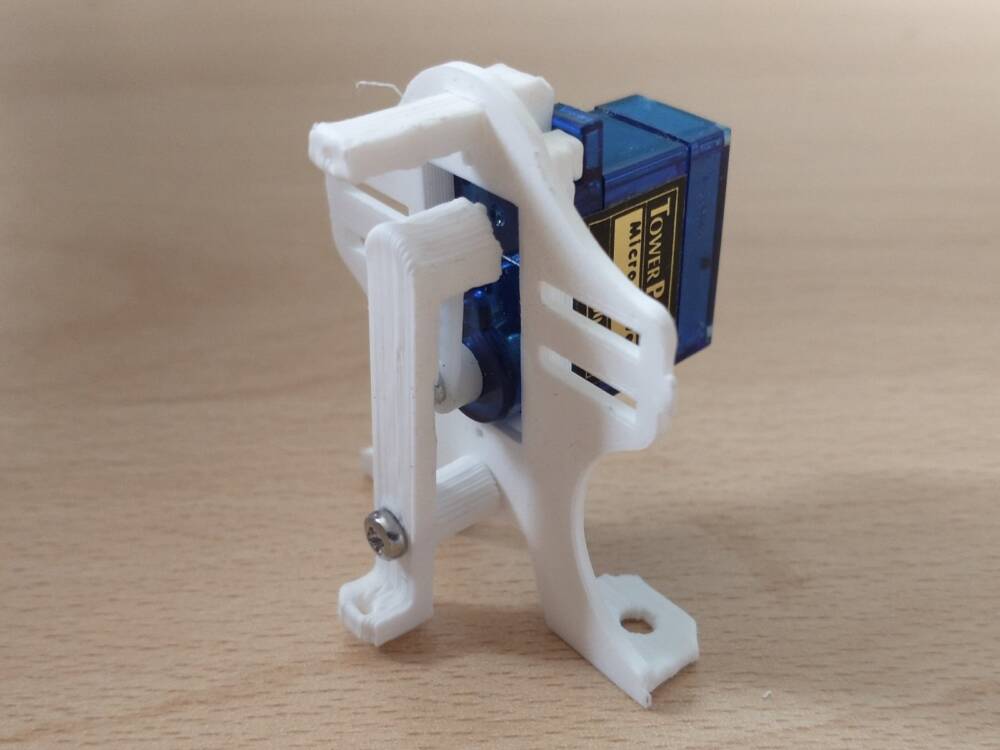
The main kit makes 6 mounts for Servo Motors to drive the points on a model railway layout. The servo moves the white arm at the front, with the piano wire connecting the arm to the point: