The 3D printer I’ve been using to print kits for MERG was getting a bit unreliable (it has done over 4600 hours of printing) so I got agreement to buy a new one. A kit is £220 less than an assembled one, and it sounded like a fun project (think Lego with a few more bits).
The parts were nicely packaged in various cardboard boxes:

You’ll note the Gummy Bears – these are used as a “reward” for completing each section of the assembly!
First job was finding all the little packets of screws, nuts and fixings, then assembling the extruded aluminium supports to the steel frame:
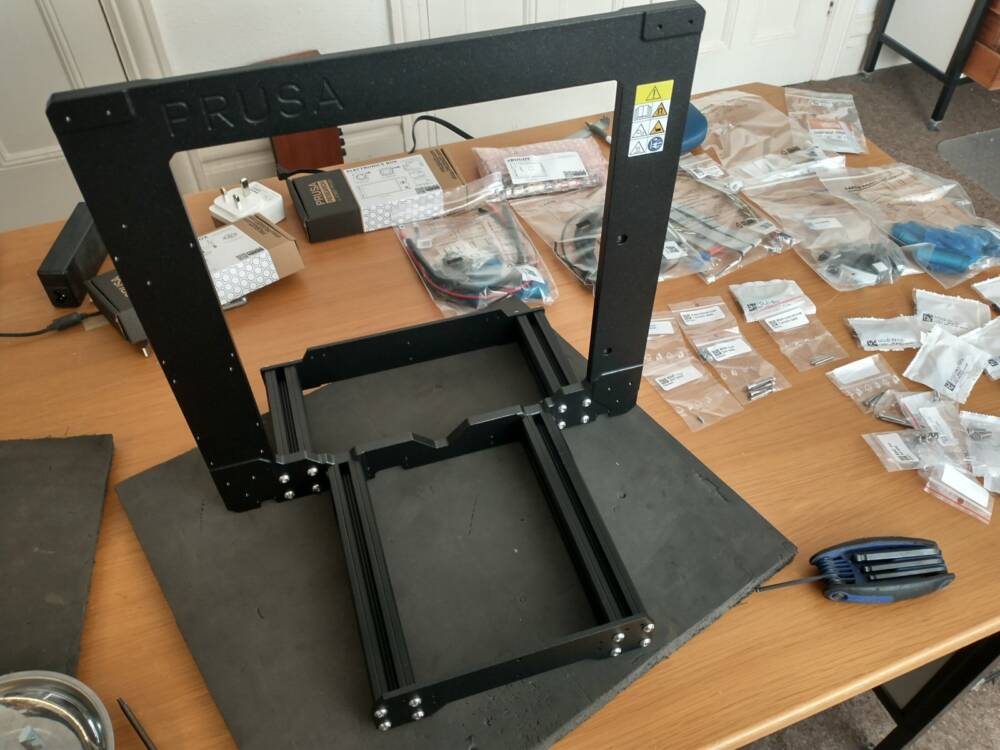
The electronics box was next – note the cable ties that will be used later to secure all the wires:

Next was the motor that will drive the Y axis bed:
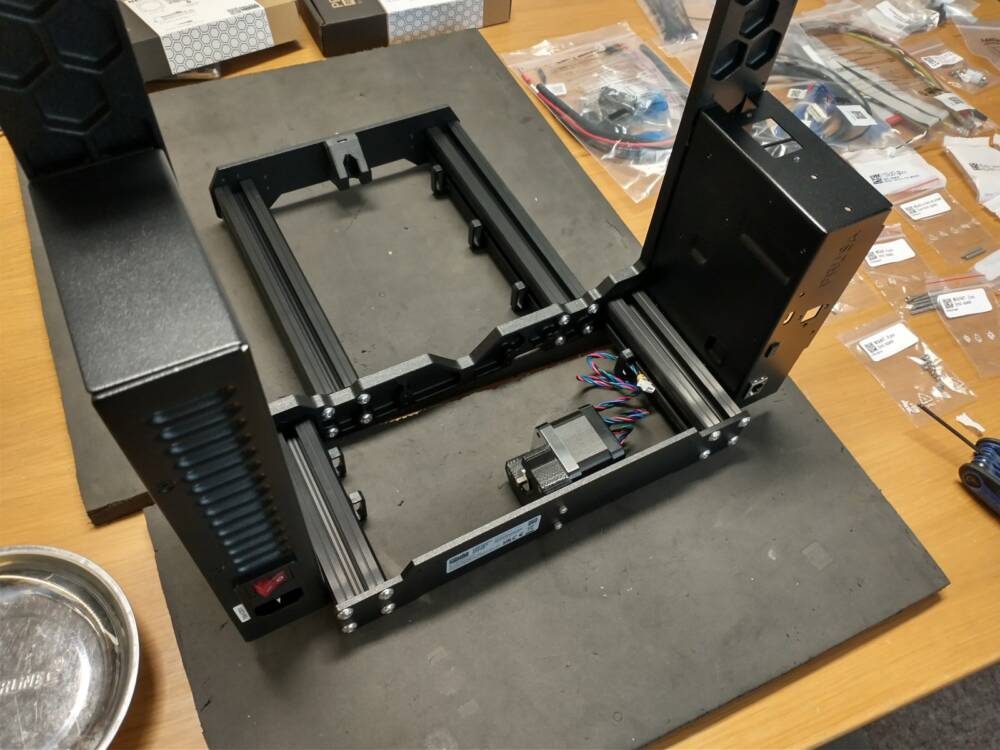
Many of the components are 3D printed, and have slots into which square nuts are placed to provide a strong fixing:
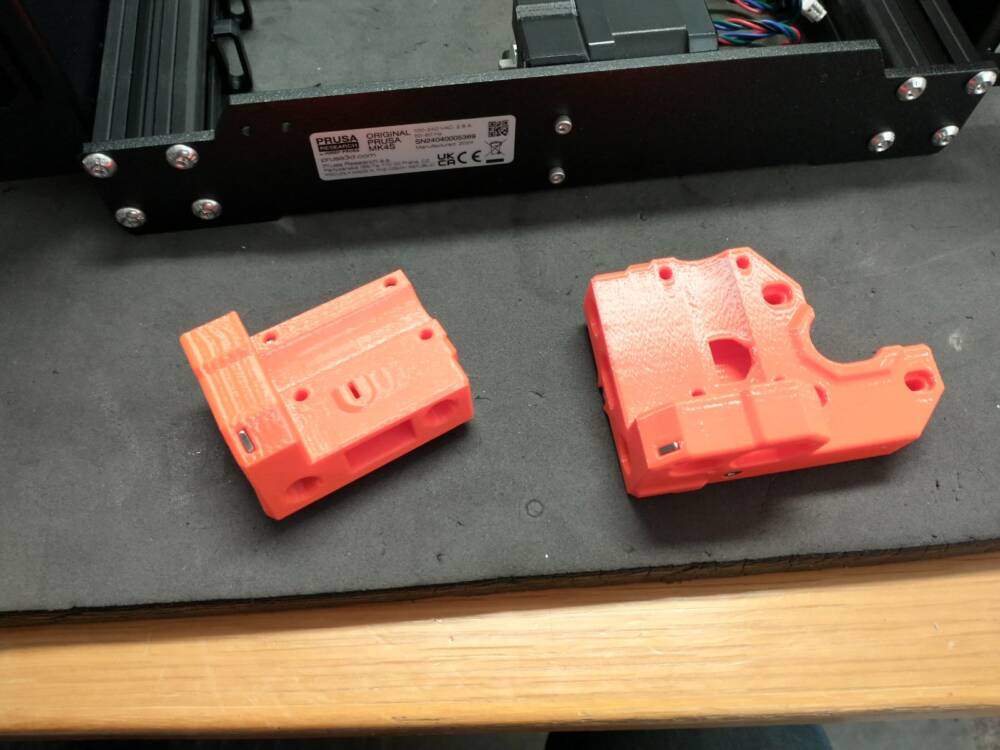
The X axis was next; note the linear bearings on the rods:

Next was finishing the basics of the X axis and mounting it on the Z axis:

The cables from the extruder and X axis motor are wrapped around a nylon core and routed to the electronics box:
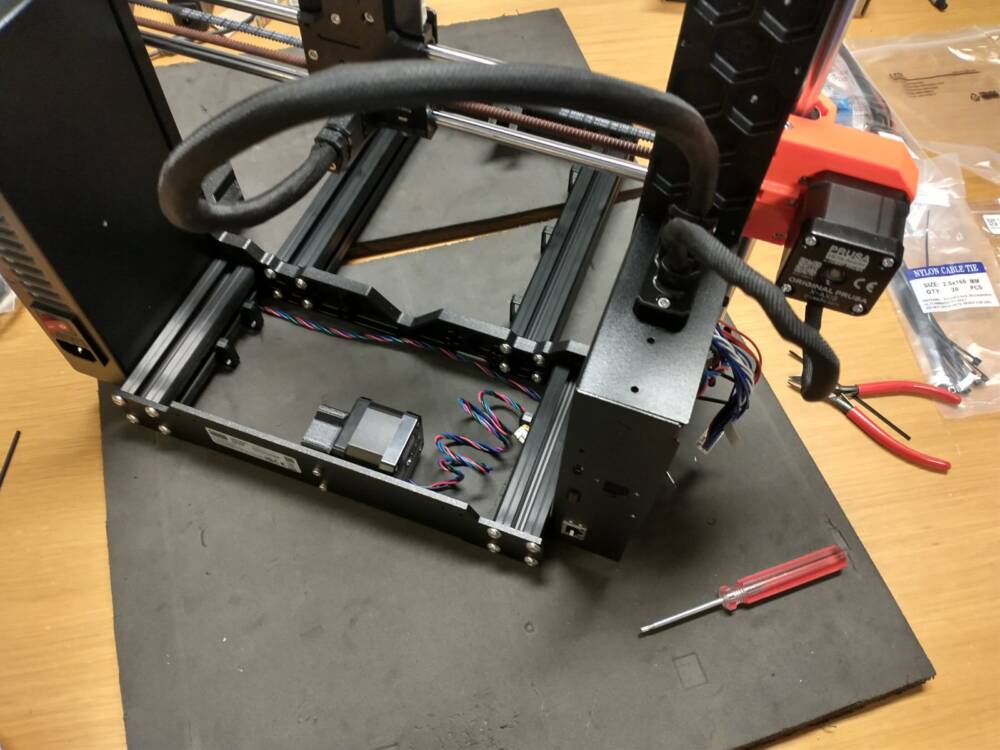

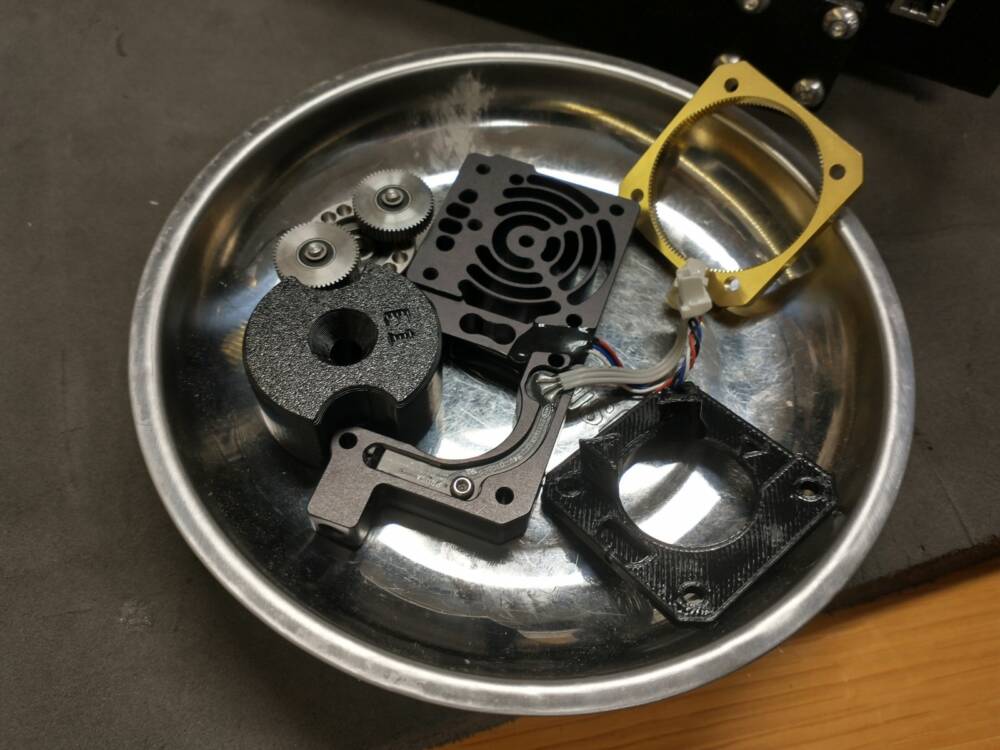
Next was the extruder gearbox, which was a bit fiddly to assemble and mount on the X axis:


The power cables were added and the wiring in the electronics box tidied up:

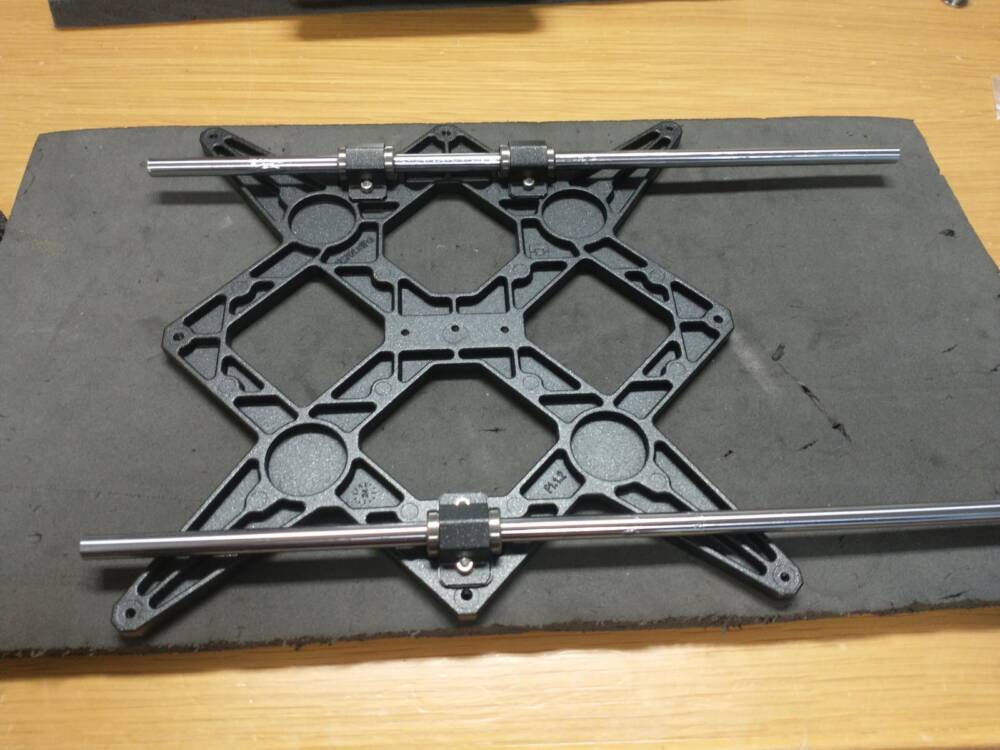
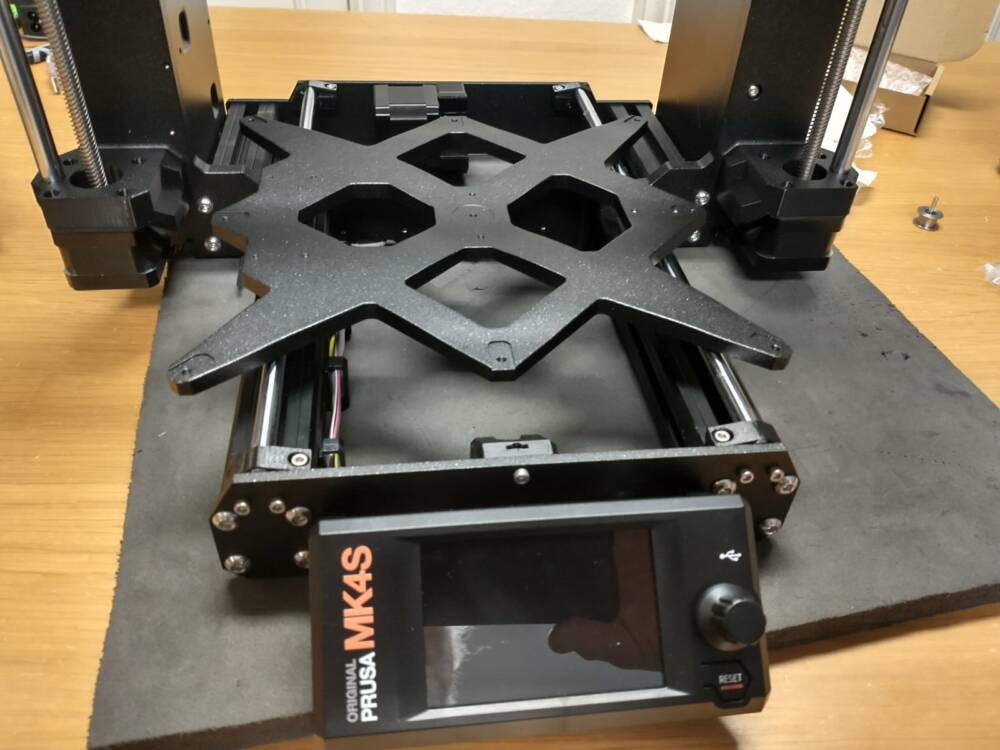
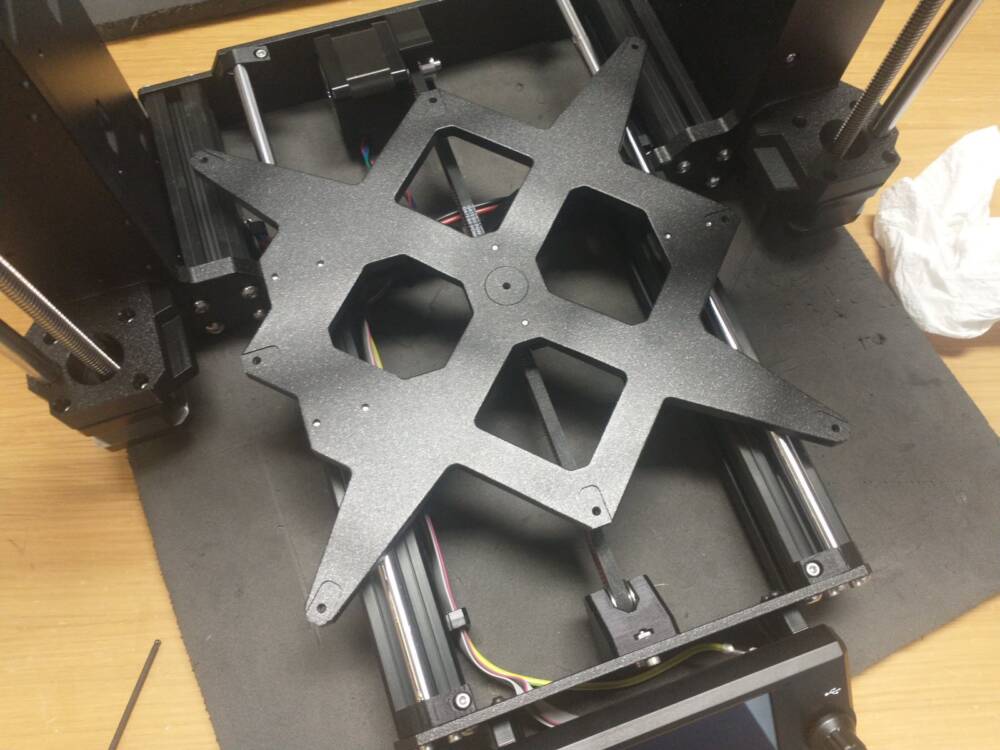
Then the heatbed and Y axis needs assembling:

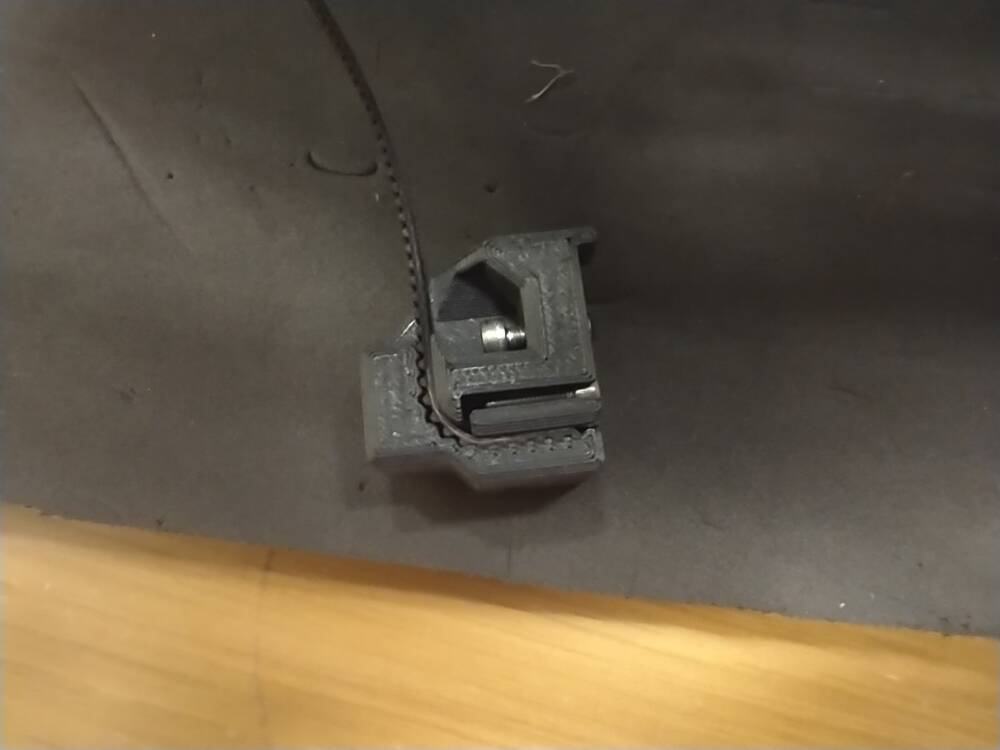
The Y axis, like the X axis, is driven via a toothed rubber belt. I was impressed with the fixing of this belt in a 3D printed part. You can just see a screw at the bottom that “locks” the belt into the fixing:
This is the completed Y axis drive:
The WiFi module is mounted in a plastic case outside the metal electronics box. You can just see the WiFi symbol on the left. There is also an Ethernet connector:

The heatbed was then installed on the Y axis:

The NFC module and a cover was added to the electronics box:
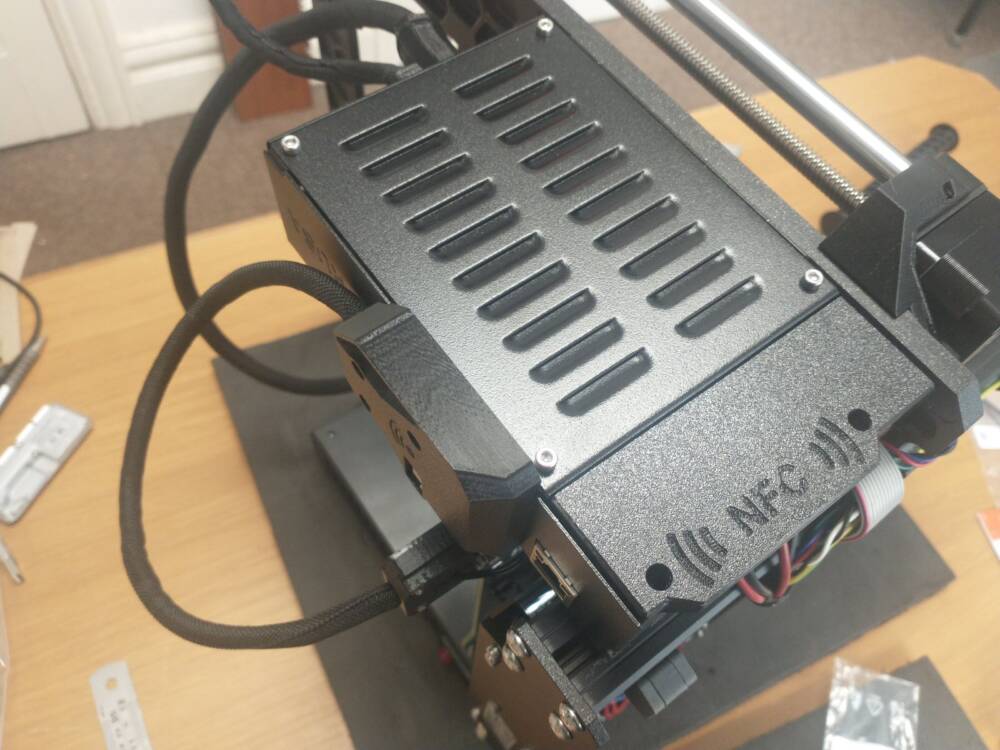
And that’s it. The software in the unit automatically tests each part and does internal calibration:
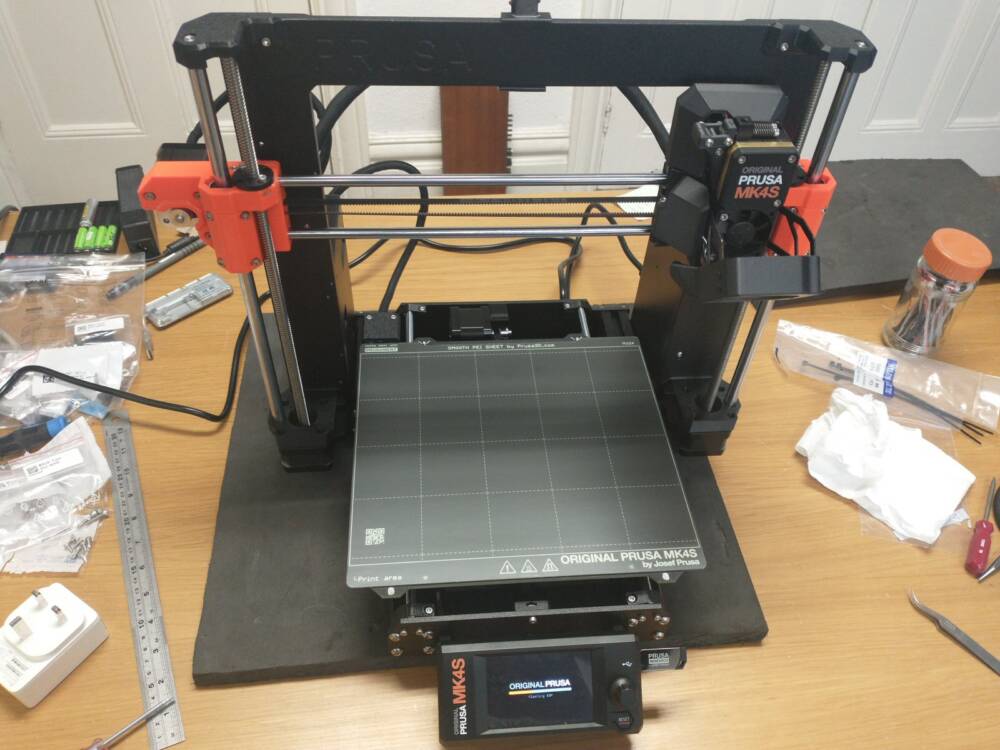
And pleasingly, it all worked!
Once connected to the network, various software can transfer files to the printer via the network, and control the printer from a web page:

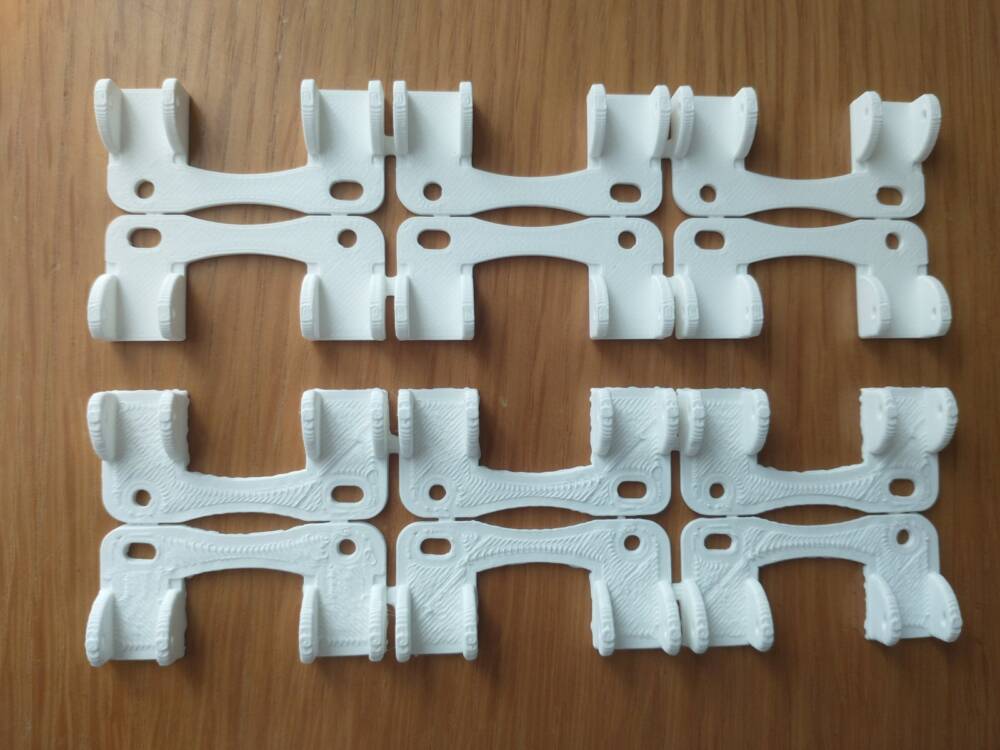
This is one set of the MERG parts printed on the new (top) and old printer:
And this is a video of the printer printing a “Temperature Tower”. This is used to see how the filament prints at different temperatures:
