Playing with our new toy

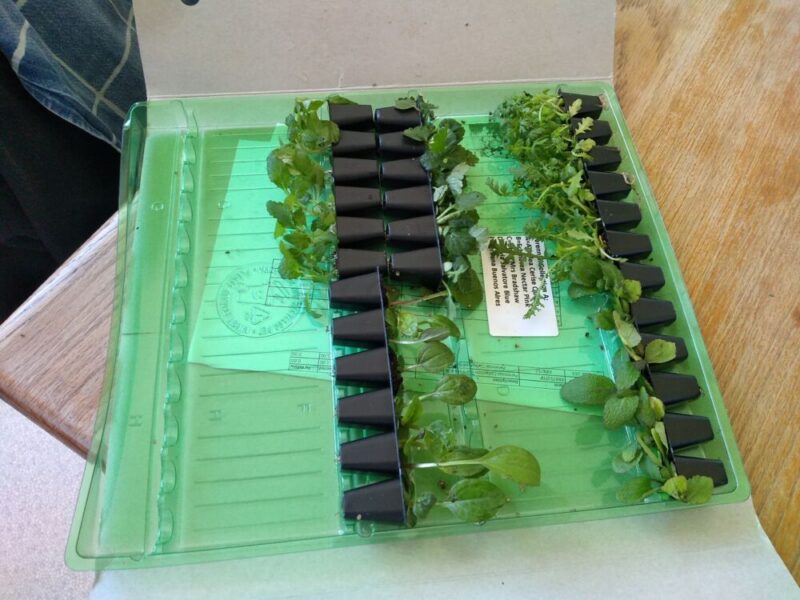
This week we had the second attempt at proving the pizza bases in the new proving oven:

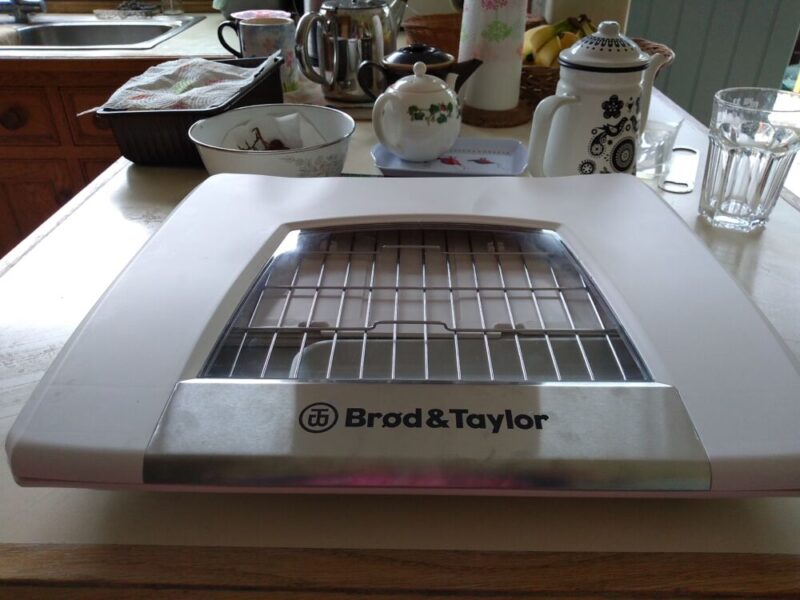
It starts off quite flat, which is handy for storage.

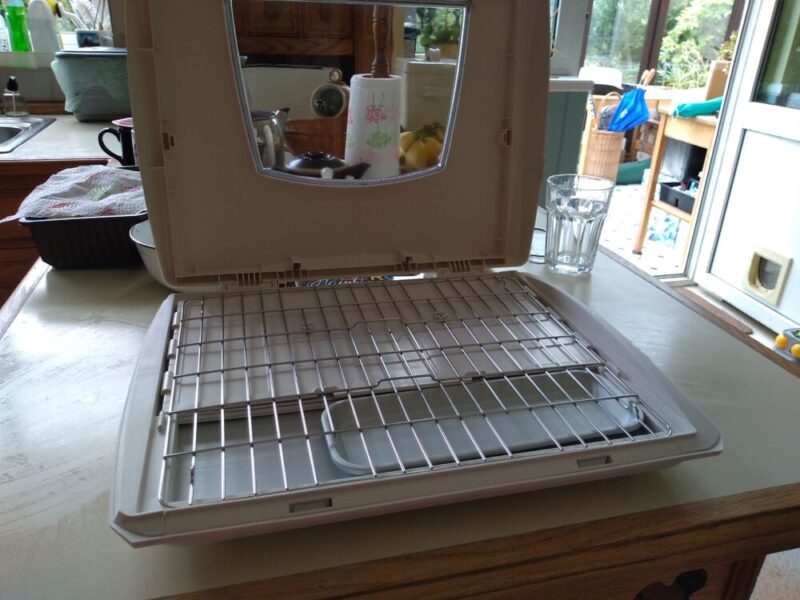
The lid lifts up, then off, then the inside unfolds so you get a box.

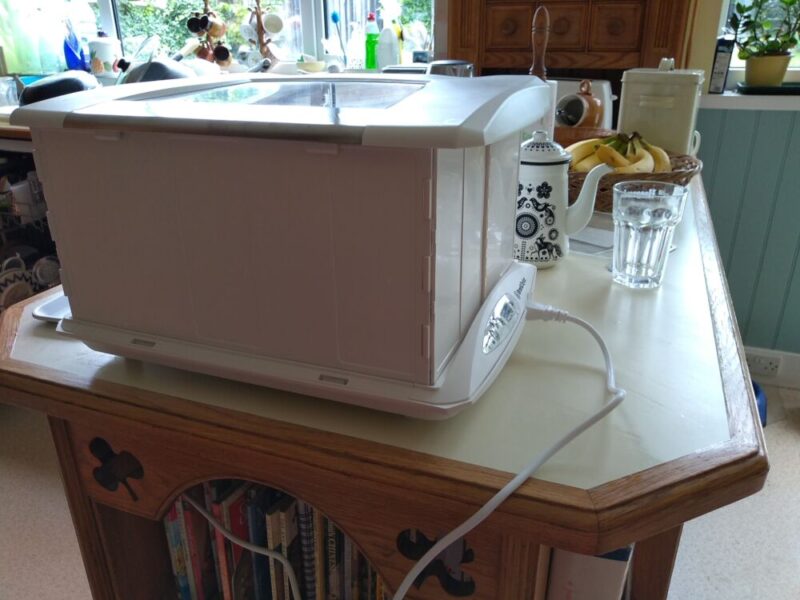
It takes less than five minutes to get to 40°, during which time I make the pizza bases.

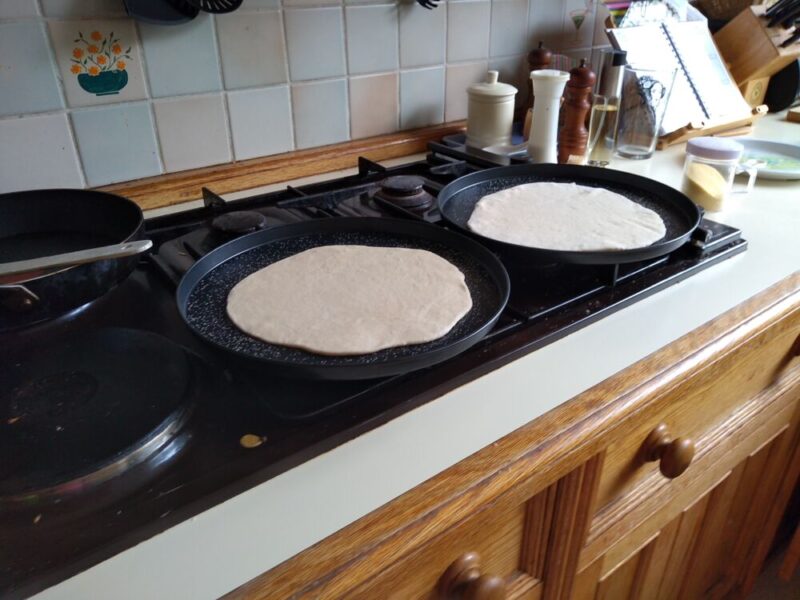
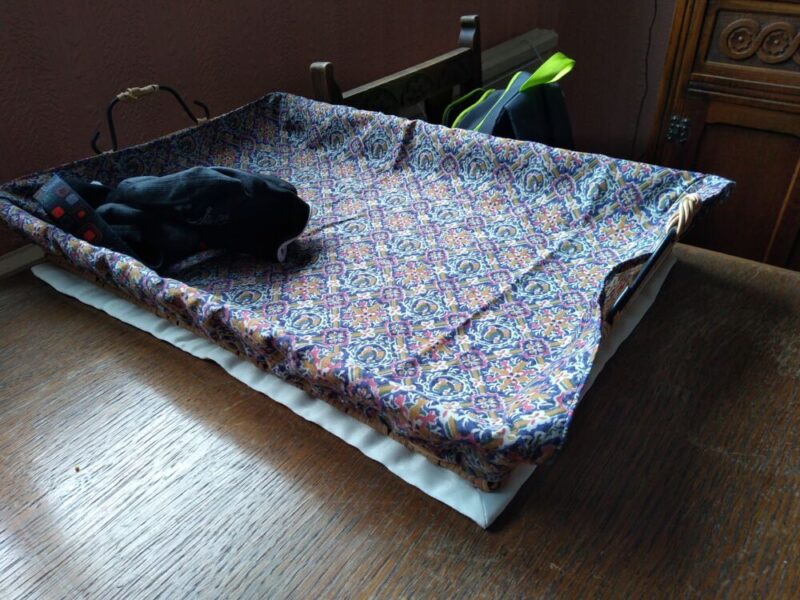
Next, the frame which Phil designed and 3D printed is unfolded, and the pizza bases stacked in it.  We had to buy new trays because the old ones were too big!


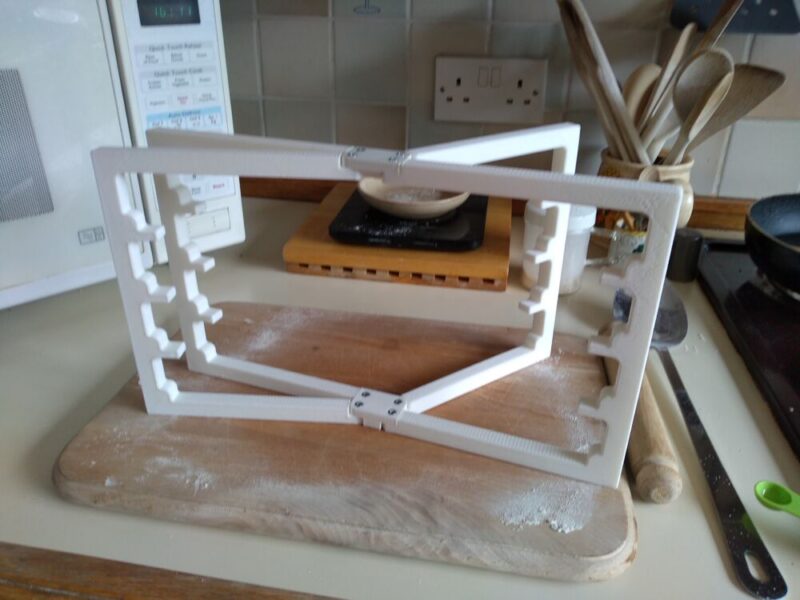
Finally, the whole lot is lifted into the oven. I must say the contraption is much more stable than I feared.  It’ll be interesting to see what it’s like with four pizzas!

A different sort of project!

Last year, some members of my dance group, Pastime, made a video pantomime.  We had such fun we decided to do another video – this time with the theme “All at Sea”.  Various people have done various bits and they will in due course be assembled into a whole by our tech wizard (not me!).

I have been filmed reciting a poem.  Aniko added a background – in the final video, I am sitting in a boat!

Next, I am going to attempt to add some illustrations…

This has been a VERY steep learning curve!

Some of you may be able to guess which poem I was reciting…

Some baby plants arrive

While I had a subscription to Gardener’s World Magazine, I sent off for some mini plug plants, which only cost the postage.  They arrived in what looked like an impossibly small package, but inside were 30 tiny plants in 30 tiny pots.

They were quite damp and seemed to be happy, but I thought it best to up-pot them pretty quickly.

It turned out that some of the tiny pots actually held more than one seedling, but I put each pot’s worth into one of my home made paper pots.

Now I am left with 30 tiny plant pots.  Can I find another use for them, so they are not single-use plastic?

Time to reduce my wardrobe

That is in quantity, not size!  For the past however many years, in the same way that we did when I was growing up, I have done a swap in May and October of the winter and summer clothes which are put in the camphor wood box while they aren’t in use.

This spring I was prompted to start early, and my aim was to reduce the (embarrassing) number of clothes I had so there would no longer be any need to keep the out of season ones separately.

So I took over the front bedroom for several days and emptied my wardrobe and drawers onto every available surface.  The beady eyed may also see the kirtle and coif in the foreground.

The shoes alone covered the bed!

I almost succeeded in my goal – there are only heavy winter coats in the camphor wood box now, and there are four bags waiting to go to the charity shop.  Furthermore, the clothes I do have are better organised.  Result!


Kirtle and Coif are finished!

Having finished the construction of the kirtle itself, I then had to deal with the lacing;  making the holes down the front was easy enough…

… but then the eyelets had to be hand stitched.  This was extremely fiddly!

They weren’t too bad when I had finished, but they were rather too small, so I had to lace them with embroidery thread rather than cord.  However, once it was waxed, as per instructions from Gemma, it was more or less acceptable.

Meanwhile, I began making a coif.  This was made out of unbleached calico, which was what I had, and entirely hand stitched, which I was rather proud of!

And so the medieval peasant costume is finished!

I will need to make a more appropriate undergarment at some point, rather than a 20th century thermal vest!!

Tina starts yet another project

As usual, I don’t wait to finish one project before starting another; I was inspired by Pastime Historical Dance activities to make a 15th Century kirtle. Having got Phil to help with the measurements – it’s hard to measure your own back, I first drew the pattern shapes on to the last remaining length of some old cotton sheeting.

This was quite a challenge, as I am not exactly the shape anticipated by the sketch (ahem), but eventually I got the pieces cut out.  The bust looked a bit odd, though.

Having done a rough fitting, and adjusted said bust, I cut out the pieces from the main fabric.

The next step will be to stitch the pieces together!

That undergarment is a (fairly) modern nightie – my Tudor chemise is too bulky to fit under.  That’s a problem for another day.


A mini project

Phil has been using a wicker tray to contain bits and pieces on the front seat of the car.  Unfortunately, the tray has holes in the side, so the smaller items had a tendency to fall out.  So I made a liner for the tray.  It didn’t take long, and I am quite pleased with how it turned out.