Building a 3D Printer from a Kit

The 3D printer I’ve been using to print kits for MERG was getting a bit unreliable (it has done over 4600 hours of printing) so I got agreement to buy a new one. A kit is £220 less than an assembled one, and it sounded like a fun project (think Lego with a few more bits).

The parts were nicely packaged in various cardboard boxes:

You’ll note the Gummy Bears – these are used as a “reward” for completing each section of the assembly!

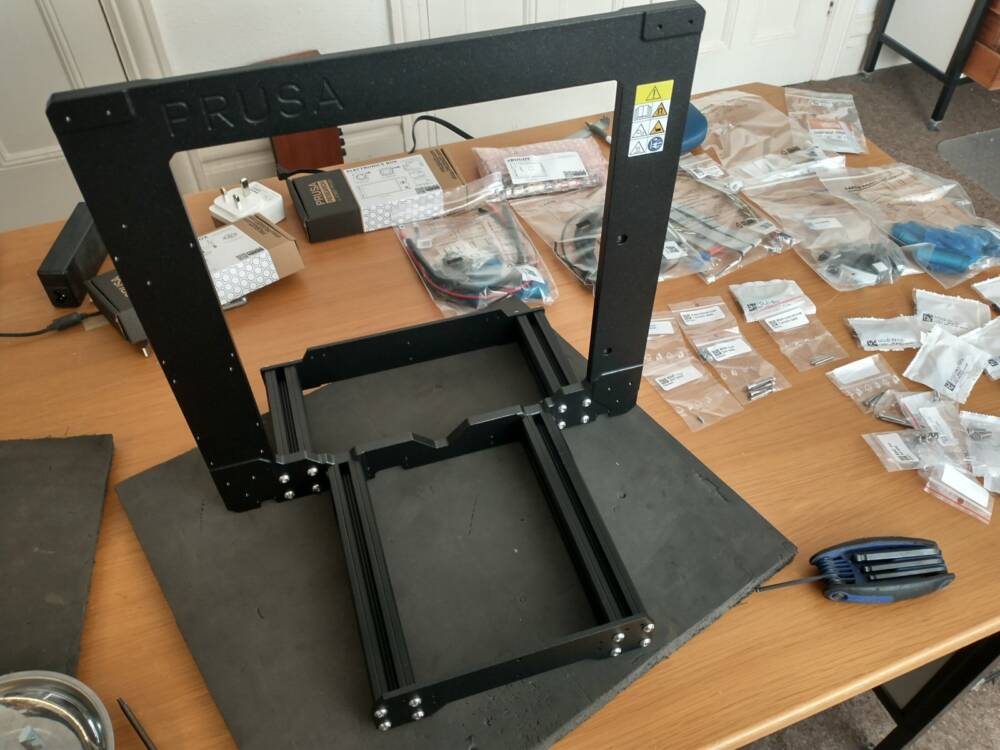
First job was finding all the little packets of screws, nuts and fixings, then assembling the extruded aluminium supports to the steel frame:

The electronics box was next – note the cable ties that will be used later to secure all the wires:

Next was the motor that will drive the Y axis bed:

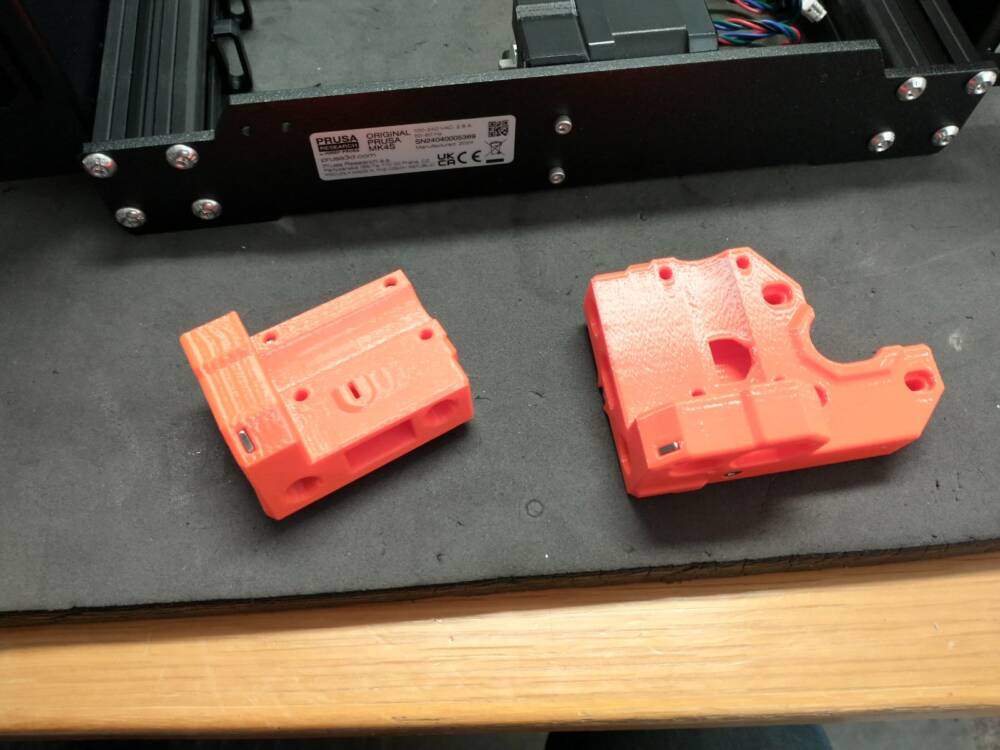
Many of the components are 3D printed, and have slots into which square nuts are placed to provide a strong fixing:

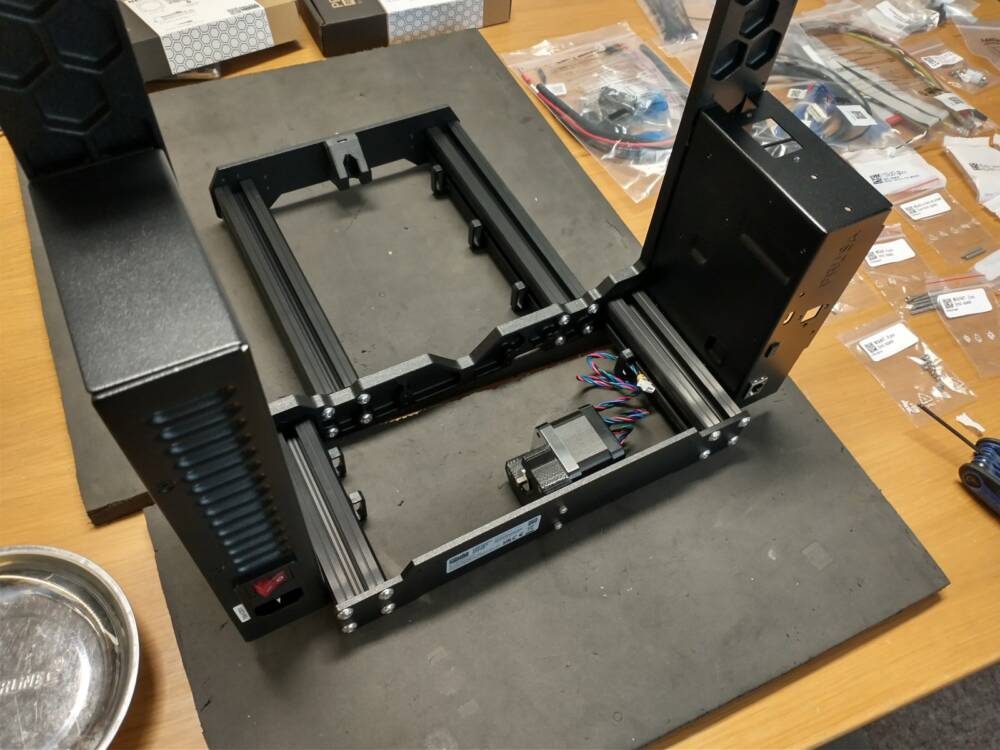
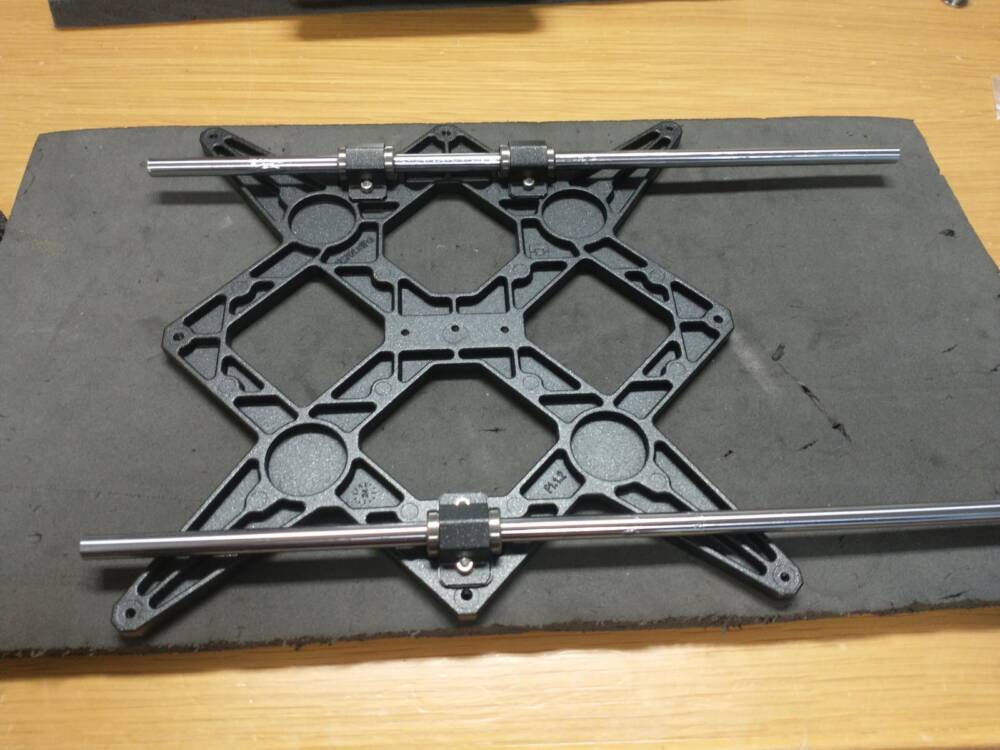
The X axis was next; note the linear bearings on the rods:

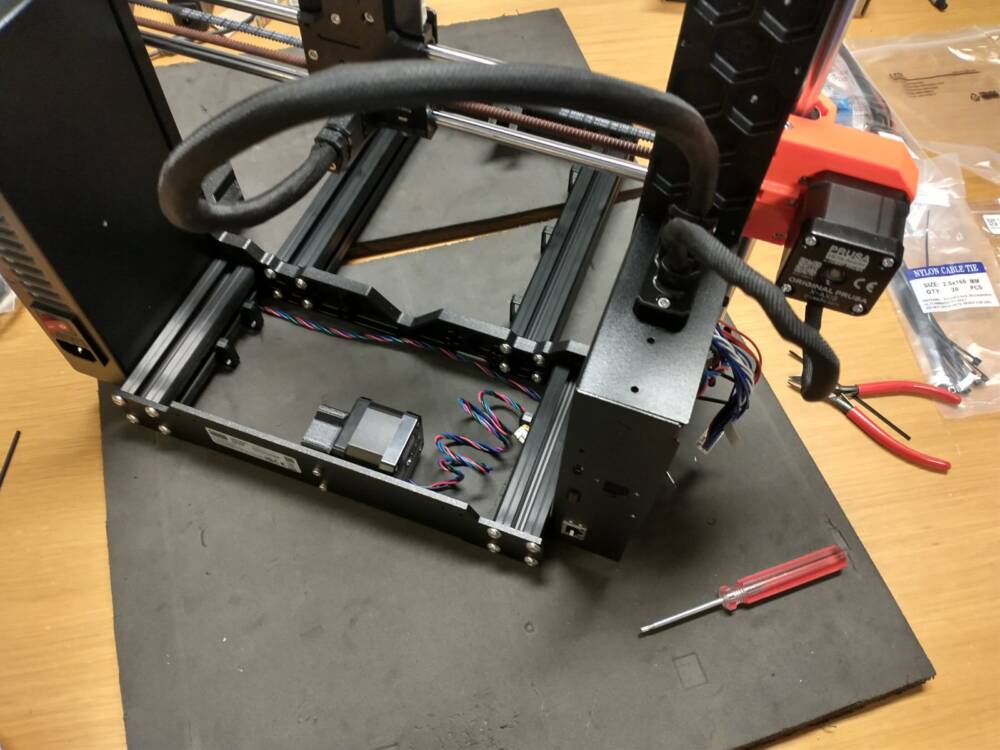
Next was finishing the basics of the X axis and mounting it on the Z axis:

The cables from the extruder and X axis motor are wrapped around a nylon core and routed to the electronics box:

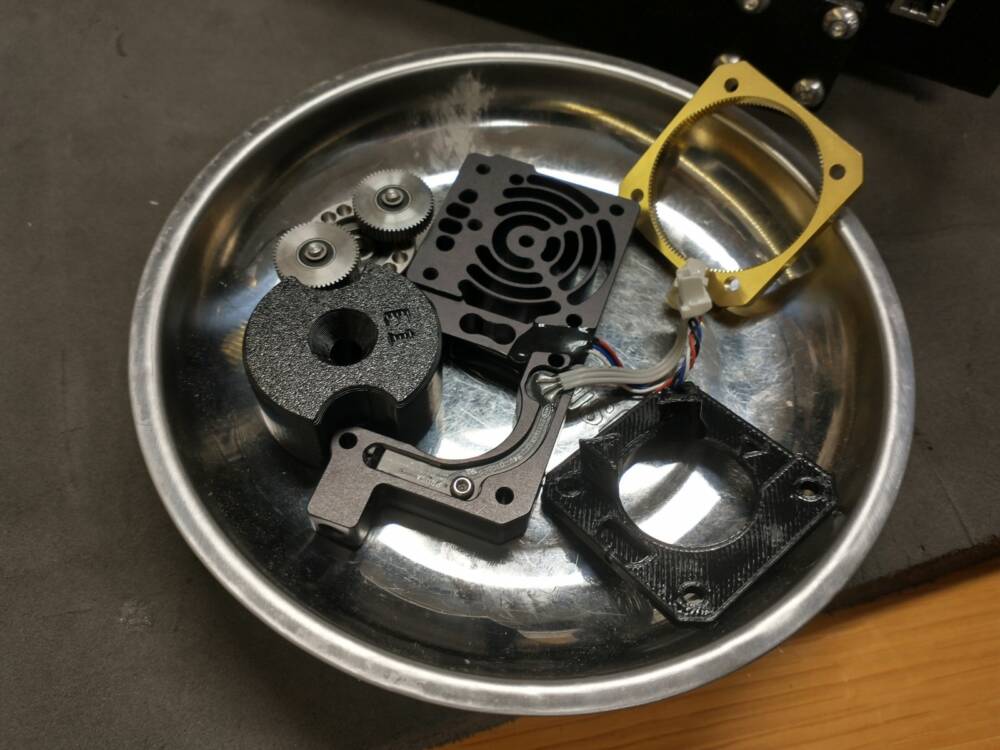
Next was the extruder gearbox, which was a bit fiddly to assemble and mount on the X axis:


The power cables were added and the wiring in the electronics box tidied up:

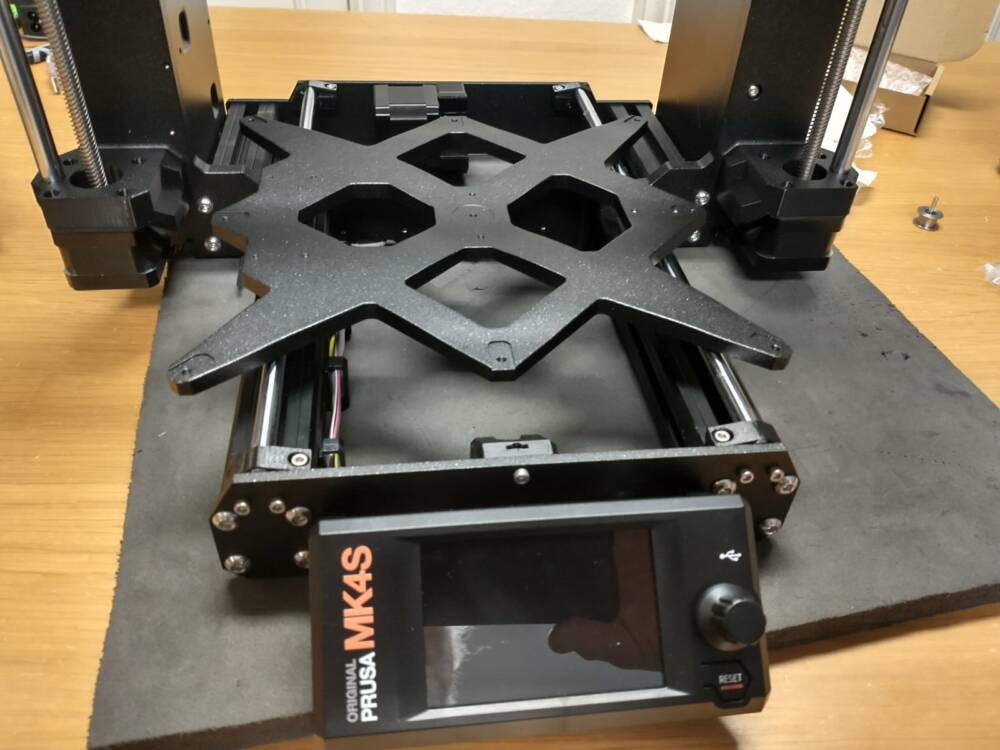
Then the heatbed and Y axis needs assembling:


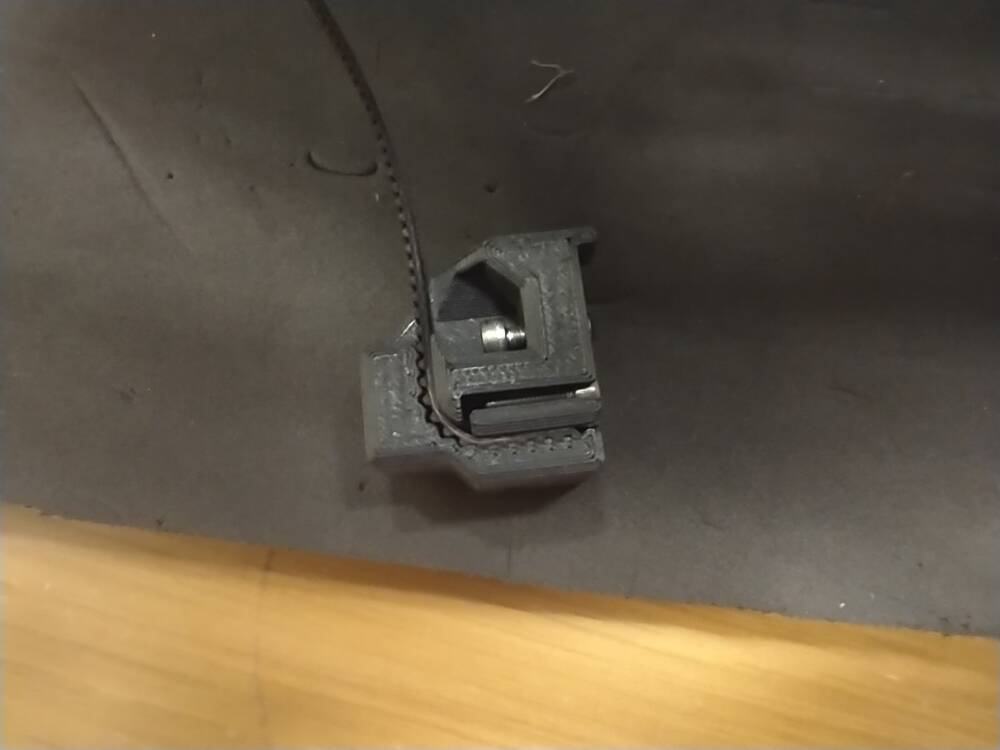
The Y axis, like the X axis, is driven via a toothed rubber belt. I was impressed with the fixing of this belt in a 3D printed part. You can just see a screw at the bottom that “locks” the belt into the fixing:

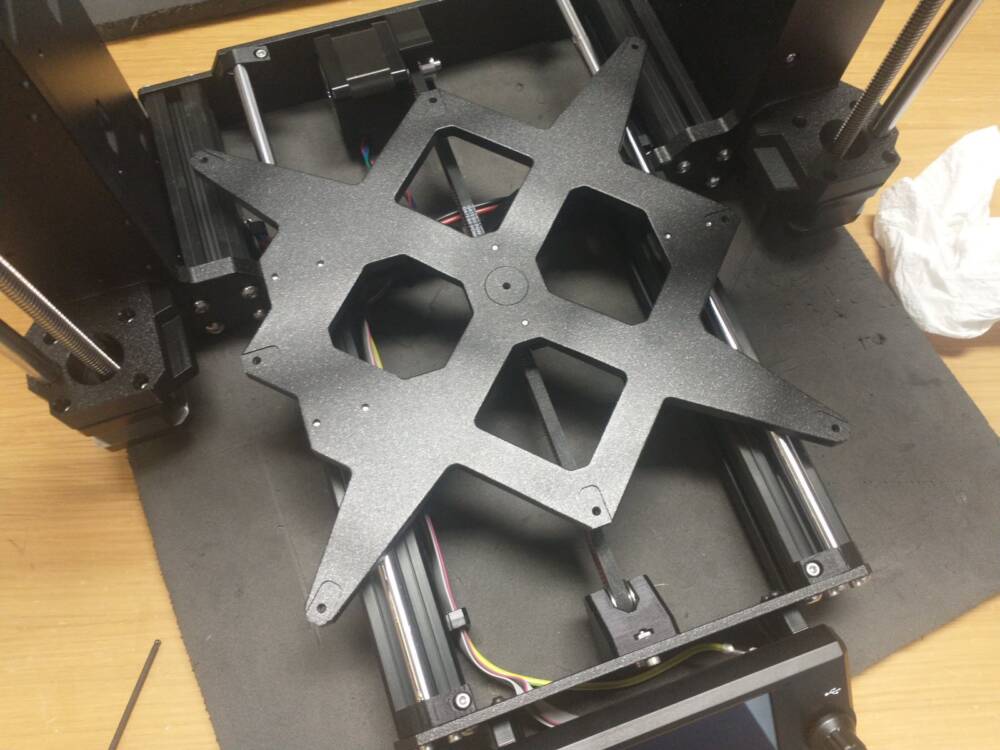
This is the completed Y axis drive:

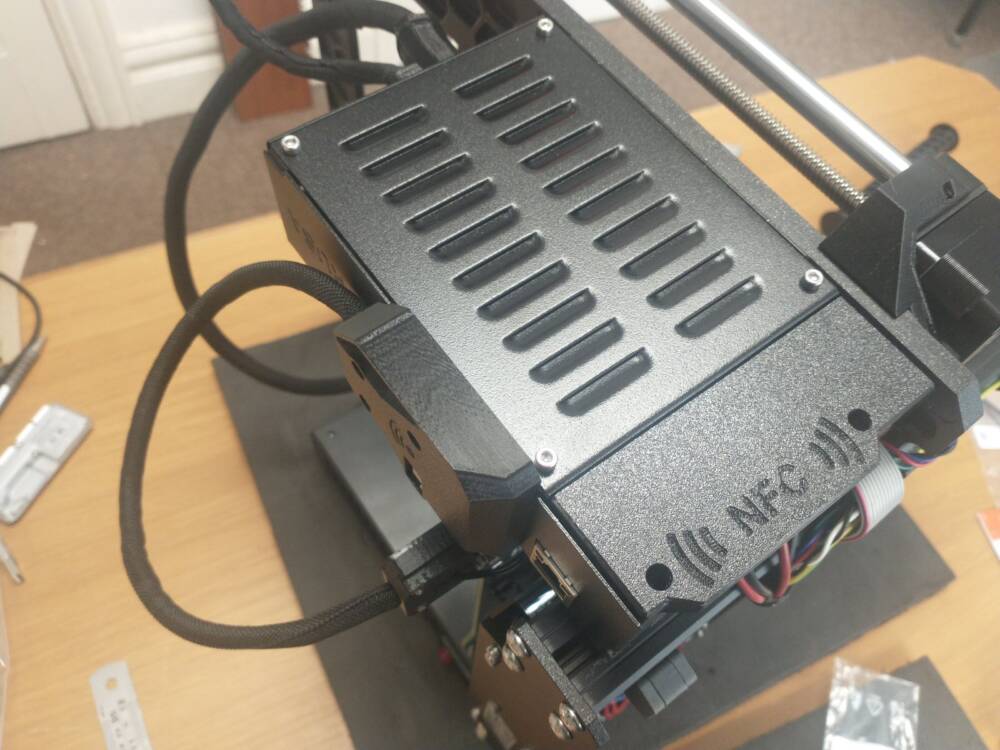
The WiFi module is mounted in a plastic case outside the metal electronics box. You can just see the WiFi symbol on the left. There is also an Ethernet connector:

The heatbed was then installed on the Y axis:

The NFC module and a cover was added to the electronics box:

And that’s it. The software in the unit automatically tests each part and does internal calibration:

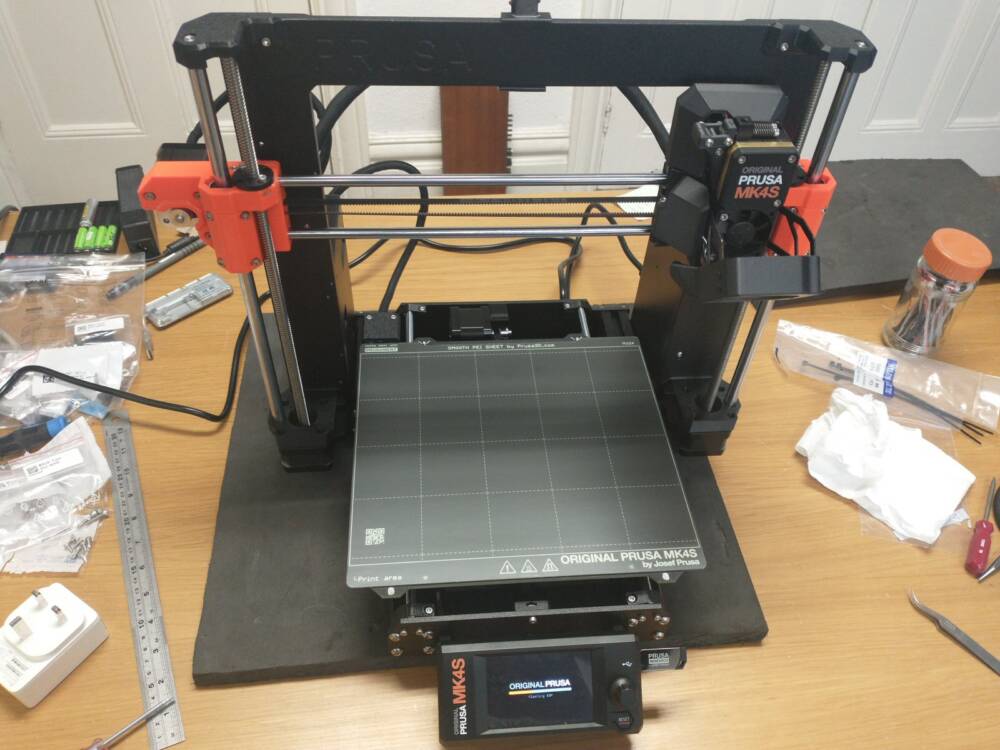
And pleasingly, it all worked!

Once connected to the network, various software can transfer files to the printer via the network, and control the printer from a web page:

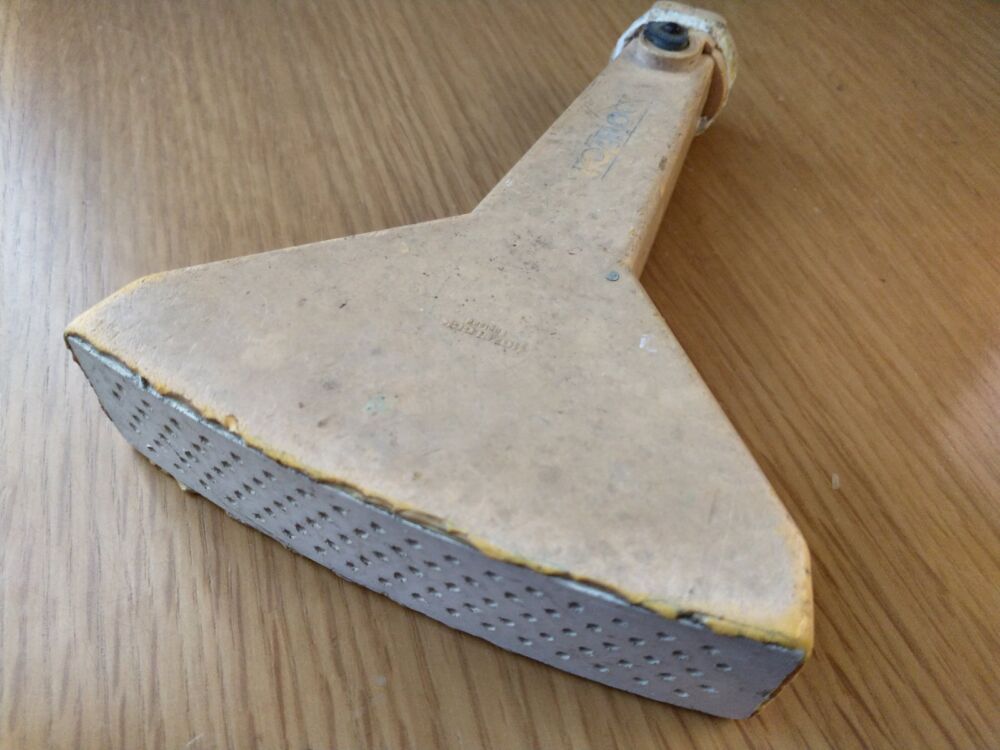
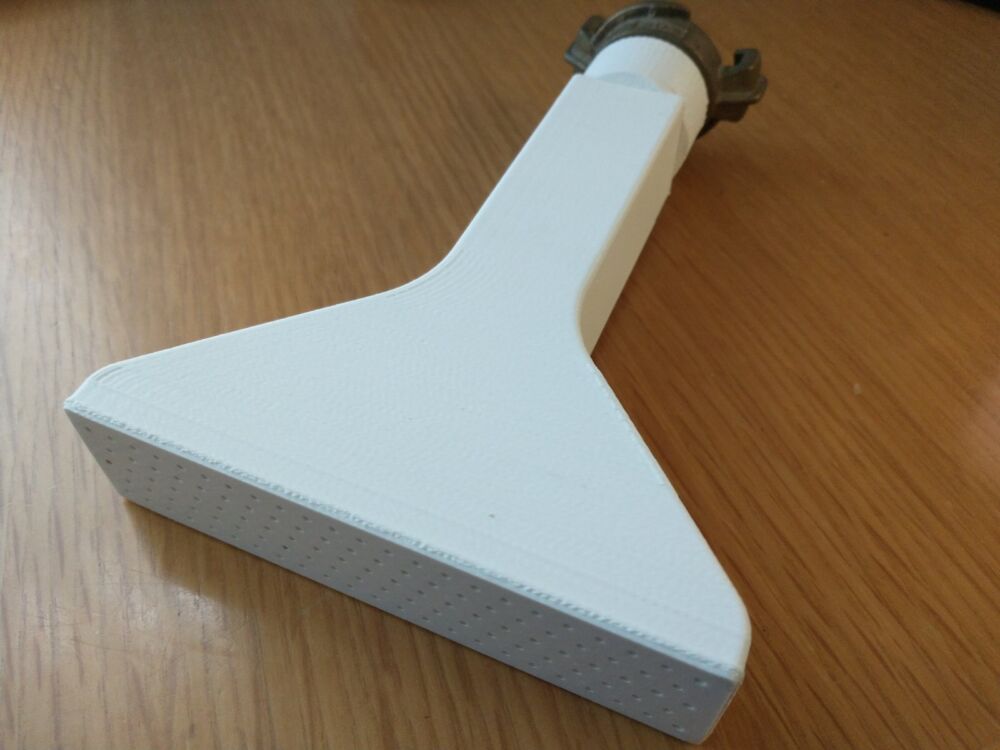
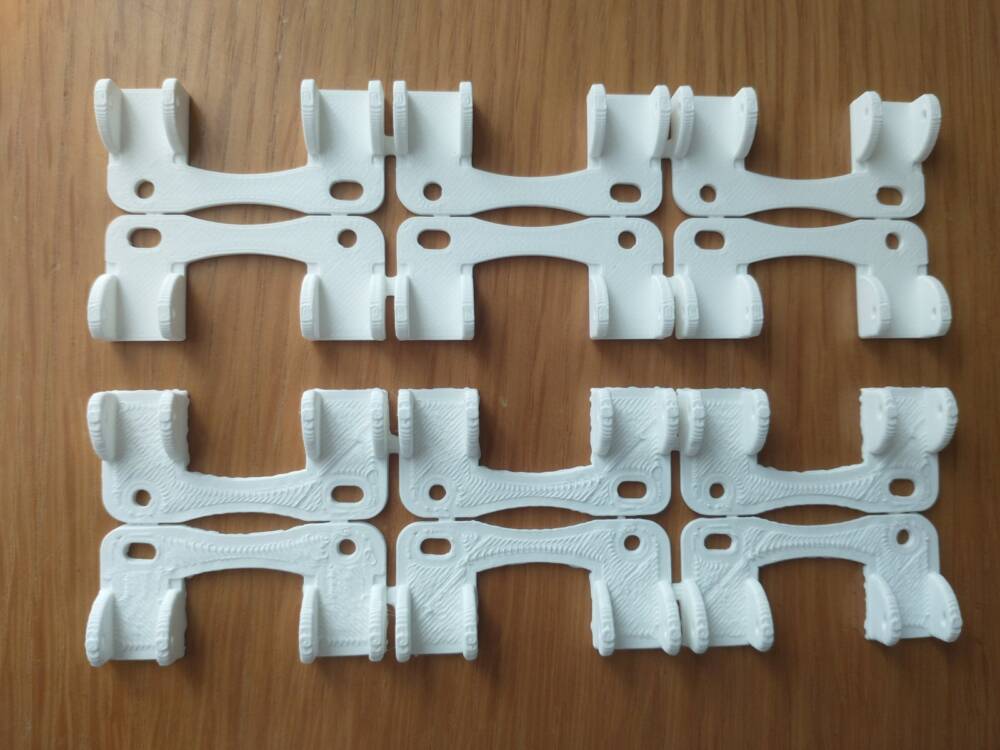
This is one set of the MERG parts printed on the new (top) and old printer:

And this is a video of the printer printing a “Temperature Tower”. This is used to see how the filament prints at different temperatures:


Fence Replacement

After 20+ years, the fence behind our garage had finally rotted beyond redemption:

It was a difficult fence to fit at the time, as there is a large drop and nothing to fix it to. This is the back of our garage with the old fence removed:

It was an ideal opportunity to clear the vegetation and muck that had built up in the gutters.

I’d already assembled a framework to hold the fence panels, and the first job was to fix this to posts at each end and brace it against the garage:

Once this was done, the easy part was fitting the panels themselves:

Hopefully this fence will last my lifetime – or if not, the frame will last – the panels are easy to replace!


Progress on the fifteenth century costume

After a couple of iterations and some advice from fellow dancer Sharon, my headdress is more or less finished.  I’m practising my aloof expression…

I have done all the machine stitching on the chemise and sleeves; just the visible bits left to hand sew.

Next job will be an overdress, but even if that doesn’t get finished, I will have a working costume for the Early Dance Festival.

15th Century costume: sleeves

While she was in Orpington, Lucy helped me to create a pattern for a sleeve for my kirtle.  To be honest, she did most of the work. I just stood getting measured and giving advice.

Now I have cut out sleeves from the kirtle fabric and white cotton for the lining.  In those days, sleeves weren’t sewn in, but attached by pins or ties, so you could wear different ones with the same garment.

The cream fabric is a bit of curtain I bought in a charity shop.  I plan to use it for a giornea (a sort of over-dress), another pair of sleeves and a headdress.

Sheet Wood Carrier

When starting a wood-working project, I’ve often struggled to move 8’x4′ (2440mm x 1220mm) sheets of wood from the front garden into the garage. Over the years, I’ve tried various things with mixed success.

So I re-purposed some wheels from a dead compost shredder:

They’re bolted onto a steel frame along with an aluminium carrier for the wood. This fits under one end of the sheet, allowing me to move the sheet from the other end without lifting it:

Regency turban really under way now!

So, having bought a wig stand and a stretchy turban as a basis…


The next step was to drape fabric around it.  This is left over from the Regency dress, so it’ll match.

Draping front

Draping back

Now to begin stitching it all together (and hopefully not to the stand).  I also found a little collection of sparkly bits which might work as decorations.

A long term project completed!

Some years ago, I began crocheting squares from some cotton yarn from my stash.  Squares are good to take on holiday, as they are small and you can just take a few at a time, but it also means the project progresses slowly… Anyway, I was getting near the end of the cotton, so it was time to decide what to make from the finished squares.

First, they had to be blocked, then pressed. 

I ended up with 33, just the number for a shrug pattern I found.  The photo below was taken on the bed while I was away in Cambridge – the whole project was still small enough to take in my rucksack!

The assembled shrug had to be blocked again after I had crocheted the squares together.

Here it is being worn as a shrug:

But the sleeves have buttons, so you can also wear it as a shawl…

…or a scarf!

Very adaptable!  But do I store it with the wraps, the shrugs or the scarves??

Garden Sprayer

I’ve been using a modified Hozelock garden fan sprayer to water the garden from our ‘well’ for years – this works well to deliver a large volume of fairly low pressure water.

It’s been gradually falling apart for a while, and finally broke at the connector end. I’ve since patched it up, but it’s only a matter of time before it breaks again.

Unfortunately, fan sprayers of this type do not seem to be made any more, so yet again, I fired up the 3D design software and designed a replacement. The first attempt had a number of problems, but the 2nd version works really well:

The inlet end is threaded to accept the existing connector and sealing washer. And if this one should break, it’s just a case of printing another one!